|
| 
|
|
Northumberland-Walks.co.uk - photographic walks in Northumberland.Hartside to Low Bleakhope Circular Walk Around Shill Moor - Cheviot Hills.Introduction We started this walk from Hartside near Linhope in the Cheviot Hills. Hartside is reached via Ingram Valley and is at the end of the public road. The route we followed took us towards Alnhammoor and across the Rowhope Burn then uphill towards Little Dod. From Little Dod we walked to Low Bleakhope and returned along the road following the River Breamish Valley and back via Meggrim's Knowe. Distance - Approx 8 miles. Parking - Limited roadside parking at end of public road before Hartside - note the restricted access signs. Toilets - Ingram Valley and Visitor Centre.
Walk 1) From where we parked on the roadside at Hartside we walked to the end of the public section of road. This is a junction with the private road to Alnhammoor. We turned left at the junction where a bridleway sign pointed to Alnhammoor, 1 mile and Little Dod 2.5 miles.
2) From here we followed the road which turned right after a cattle grid.
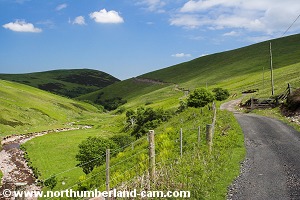
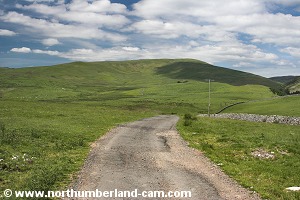
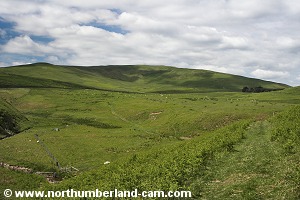
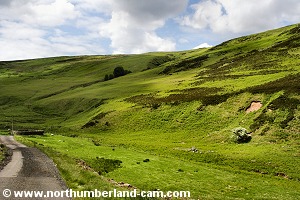
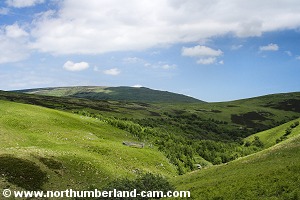
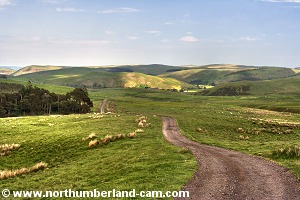
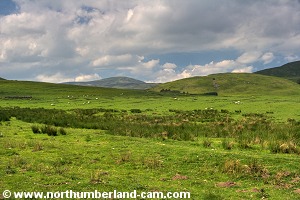
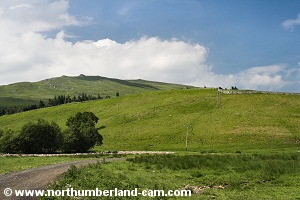
3) After turning right we continued along the road with Shill Moor visible straight ahead in the distance. We were not going to the top, but around the other side, though a detour to the top may be worthwhile.
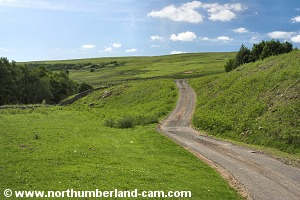
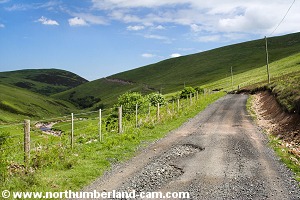
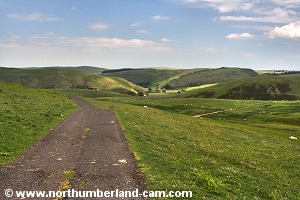
4) After a short distance the road drops steeply down into the River Breamish Valley (this hill is a test for tired legs on the way back!)
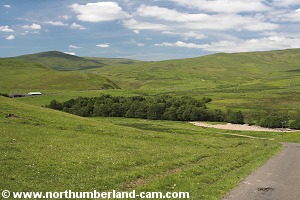
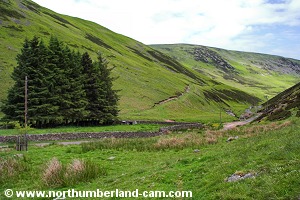
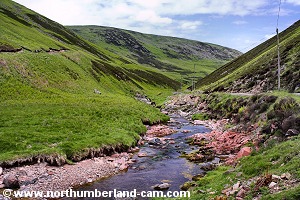
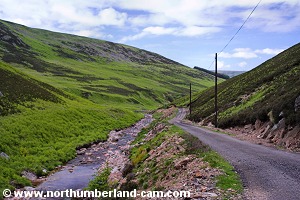
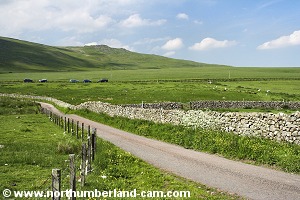
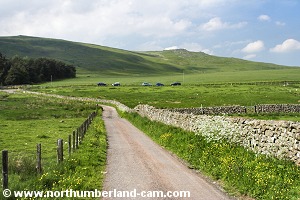
5) At the bottom of the hill the road turns left and follows the river.
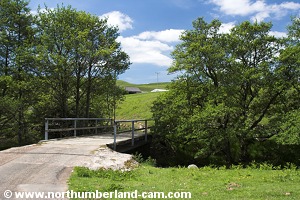
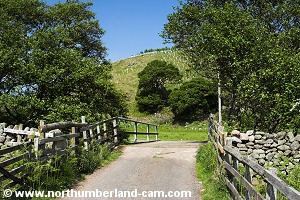
6) We followed this road and crossed the River Breamish over a bridge between some trees.
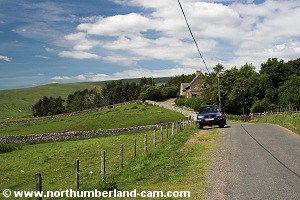
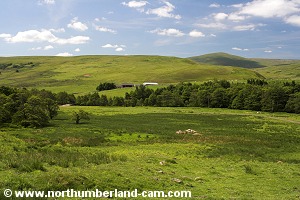
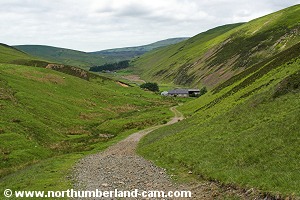
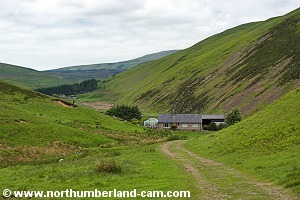
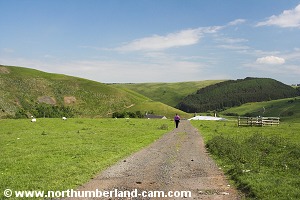
7) On the other side of the bridge we followed the road which then climbs uphill.
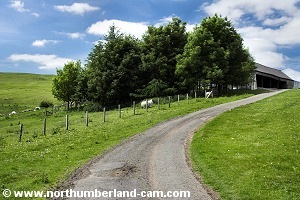
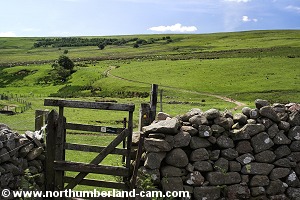
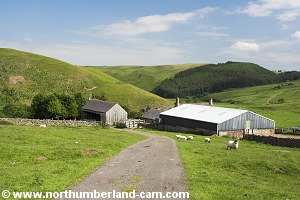
8) Ahead on this road is a farm with a barn visible. We turned left off the road here, following a path towards a gate with a stile beside it.
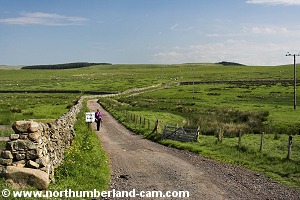
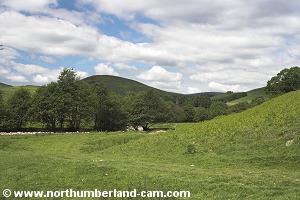
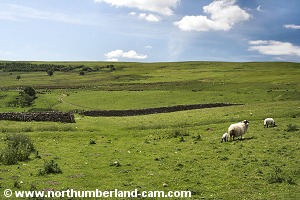
9) After crossing the stile we walked through a field towards a gate in a stone wall straight ahead, which we passed through.
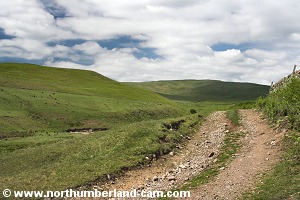
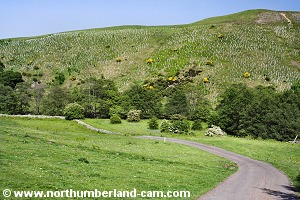
10) On the other side of the gate we turned right, along a track which soon turned to a path and led uphill. The farm was on our right here.
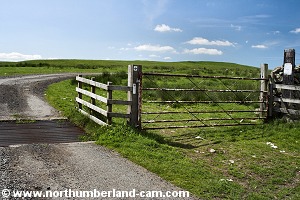
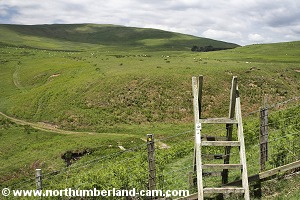
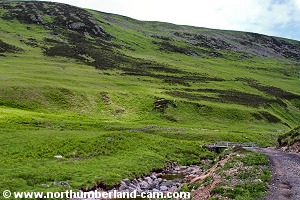
11) We followed this path, towards a high stile over a fence straight ahead.
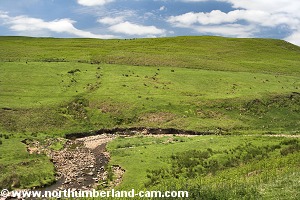
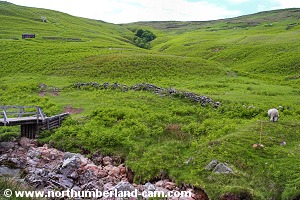
12) After crossing the high stile we followed the path downhill to a ford and small bridge over the Rowhope Burn, which we crossed.
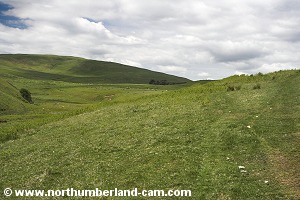
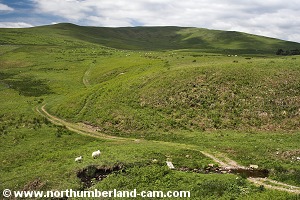
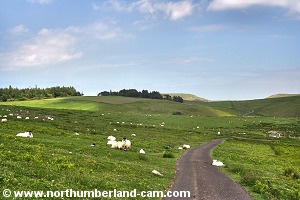
13) The track soon started to rise out of the valley as we headed towards Scaud and Little Dod. Ground nesting birds circled noisily overhead here to distract us from their nests until we were well clear.
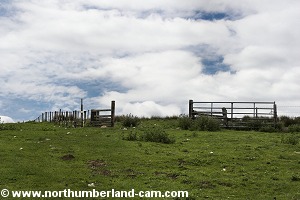
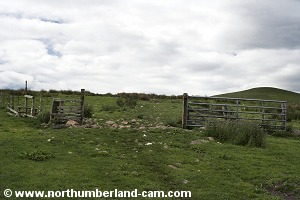
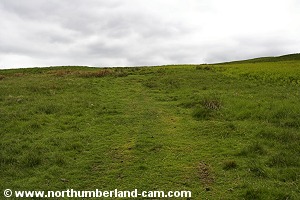
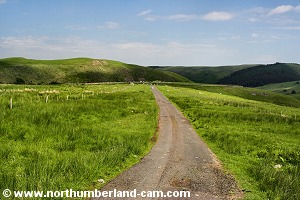
14) The path became indistinct as we climbed higher ignoring a temptation to follow what looked like a path on our left. Binoculars came in handy here as we spotted the gate and stile we were heading for and climbed higher until we reached it.
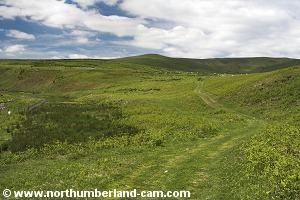
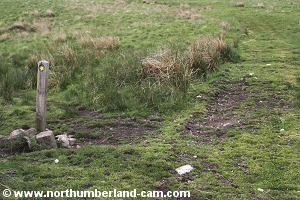
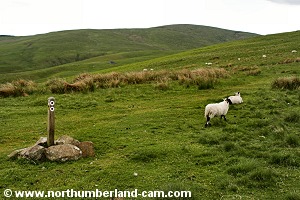
15) After passing through the gate we continued uphill. There were a few marker posts in the ground along this path, but Cushat Law, a high hill in the distance provided a good guidance as we were headed more or less straight towards it.
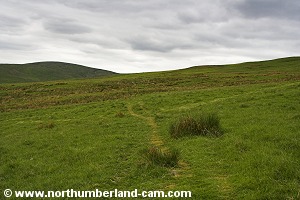
16) Eventually we reached the path from Ewartly Shank to Low Bleakhope, just beside Little Dod.
17) We turned right onto this path towards Low Bleakhope and continued climbing uphill. From here there were fine views back towards the Northumberland Coast.
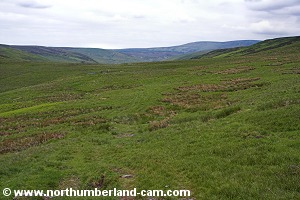
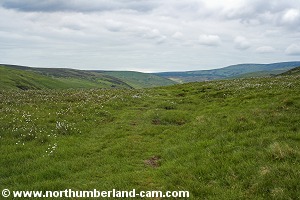
18) The path levelled out as we passed through an area of Bog Cotton (and bog!) with Shill Moor now on our right.
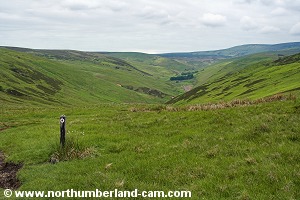
19) As we headed towards a gate and stile the Border Ridge came into view.
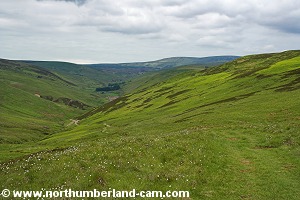
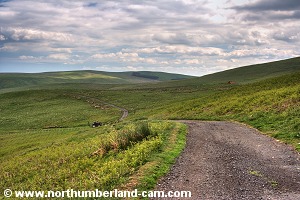
20) After the gate the path started to drop downhill and High Bleakhope could be seen straight ahead in the River Breamish Valley.
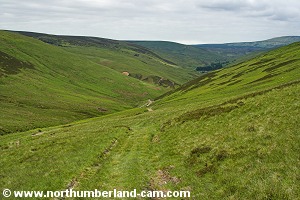
21) The path became steeper and turned into a track as we headed down into the valley and Low Bleakhope soon became visible. This was about the halfway point of the walk.
22) At Low Bleakhope the track crossed the burn to the farm, but according to the O.S. Map the right of way did not. So before the burn we turned right, off the track and along a path, crossing the burn further down and onto the road.
23) We followed the road, which was very close to the River Breamish and so was downhill. The steep western slope of Shill Moor was on our right.
24) The downhill section soon ended as the road turned right and away from the valley floor.
25) As we walked along this stretch of road we could soon see that it became much steeper than we had imagined from the map!
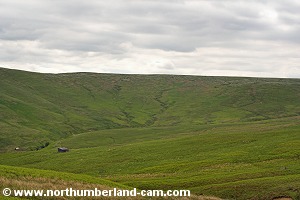
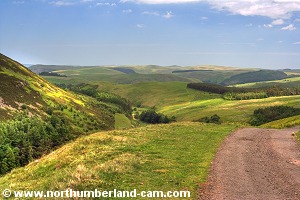
26) Climbing steadily along the steep north slope of Shill Moor there were great views across the River Breamish towards Dunmoor Hill in the distance.
27) Eventually we reached the top of this hill where there were great views to Linhope and in the far distance, Hartside, where we started.
28) We followed the road downhill from here stopping for a while to chat to a couple of men who were erecting a new fence. These men knew the hills well and no doubt had many stories to tell. A different return route was possible here, by following a path down to Linhope, but we decided to continue back along the road.
29) As we continued along the road towards Meggrim's Knowe, Curlews were flying overhead with their haunting call carrying loudly in the breeze.
30) Soon we reached the farm where we turned off this road earlier and continued downhill back to the bridge over the River Breamish.
31) After crossing the bridge we continued along the valley floor we soon reached the steep hill again for the final climb of this walk.
32) From here it was a gentle walk along the road back to Hartside.
Notes
| ||||||||||||||||||||||||||||||||||||||||||||||||||||||||||||||||||||||||||||||||||||||||||||||||||||||||||||||||||||||||||||||||||||||||||
| ||||||||||||||||||||||||||||||||||||||||||||||||||||||||||||||||||||||||||||||||||||||||||||||||||||||||||||||||||||||||||||||||||||||||||