Northumberland Walks Logo

Northumberland Walks Panorama.
Homepage * Site Map * Privacy * Terms * E-mail

© Copyright - All walk descriptions and photos on this website are subject to copyright.


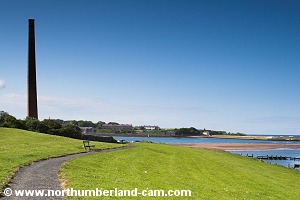
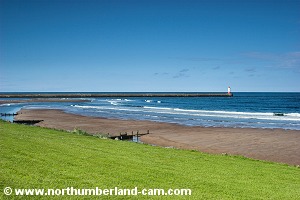
Northumberland-Walks.co.uk - photographic walks in Northumberland.


Spittal - Cocklawburn Cliff Walk

Introduction

We started this walk from the car park at the north end of Spittal Beach beside the old chimney.

The route we followed took us along the promenade and up onto the cliff top footpath beside the railway. Turning inland towards Scremerston we returned along tracks and footpaths through the countryside and back down into Spittal.

Distance - About 5 miles

Parking - Spittal

Toilets - None - nearest in Berwick

Spittal Promenade and Beach.

Cliffs between Spittal and Cocklawburn.


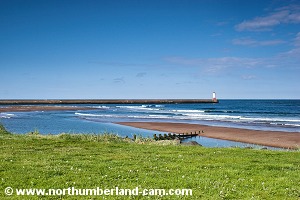
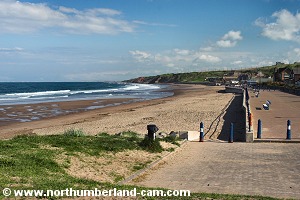
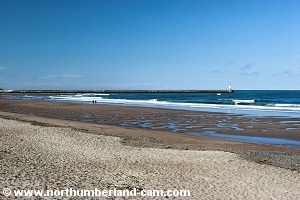
Walk

1) From the car park we walked along the footpath to Spittal Promenade. (If the tide is out the beach is an alternative to the path and promenade.)

View from the car park where we started this walk.
Views from the car park where we started this walk.

Footpath to the promenade.

View from the footpath to Berwick Pier.

Footpath to the promenade.

Start of Spittal Promenade.


2) We walked along the promenade and took the last path into the village before reaching the playing field.

Spittal Promenade.
Spittal Promenade.

Playing field at the south end of the promenade.


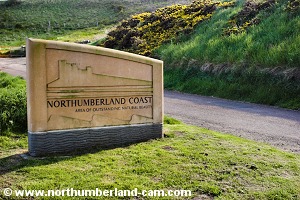
3) Turning left onto the Main Street we walked to the end and then turned right onto the track / road that leads up towards the railway.

A Northumberland Coast sign marked the way here.

Northumberland Coast sign.

Start of the track up to the cliff-tops.


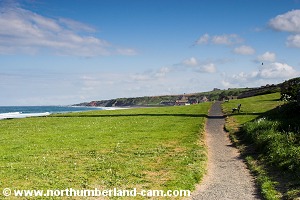
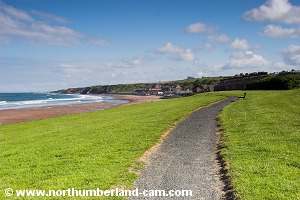
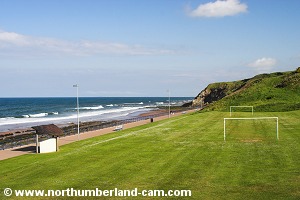
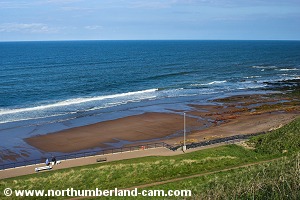
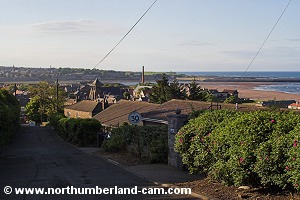
4) We followed the track uphill, overlooking the playing field and south end of the promenade.

Work along the track was being done.

View down to the promenade.


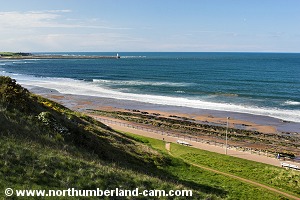
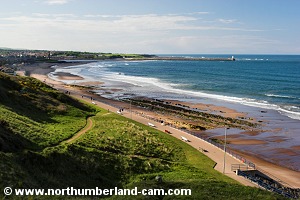
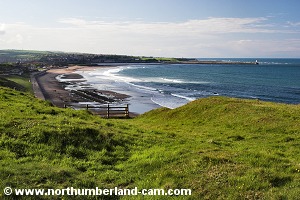
5) A great vantage point a little further along provided us with a great view along the full length of the promenade and beach.

View down to the promenade..
View down to the promenade.

View along the promenade and beach.


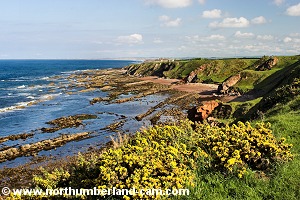
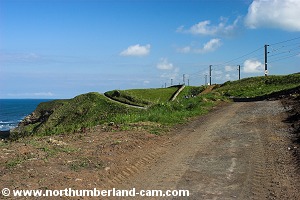
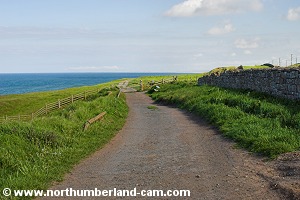
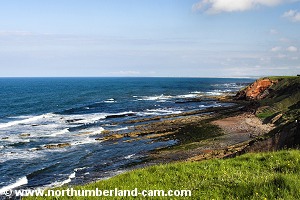
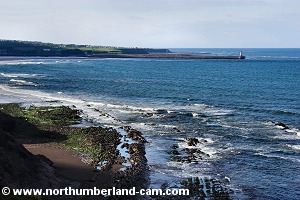
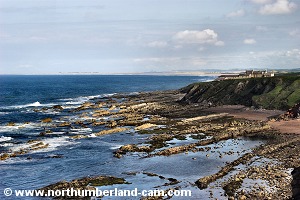
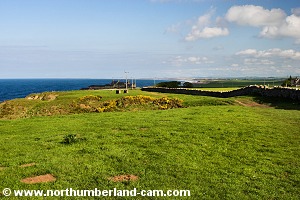
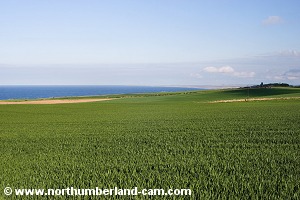
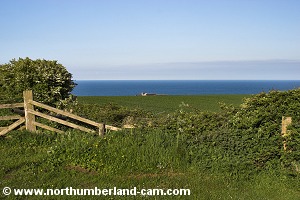
6) The path soon levelled out and after passing through a gate the views to the south along the cliffs opened up.

Between Bear's Head and Huds Head some of the cliffs fall away to the shore like huge slabs.

Footpath view between Bear's Head and Huds Head. Footpath view between Bear's Head and Huds Head.
Footpath views between Bear's Head and Huds Head.


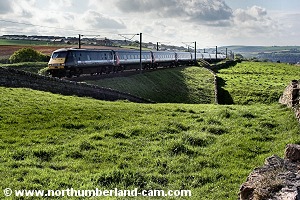
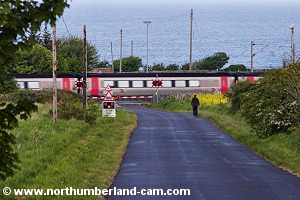
7) The path took us alongside the main east coast railway line where high speed trains regularly roared past us. The passengers were no doubt enjoying the views on this spectacular part of the line.

View north to Berwick. High speed train travelling south to Newcastle.
Footpath view between Bear's Head and Huds Head. Gorse on the clifftops.
Gorse on the clifftops. View north to Berwick.
Footpath views near Huds Head.


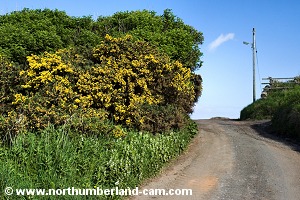
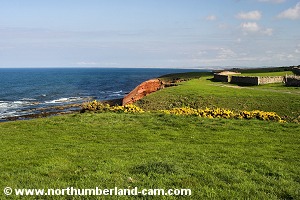
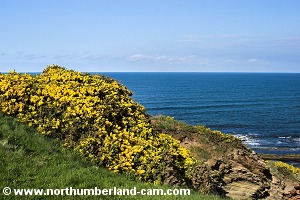
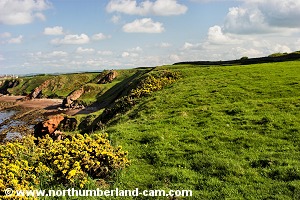
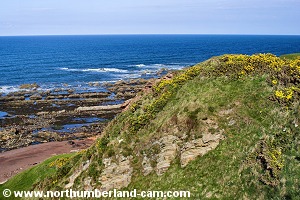
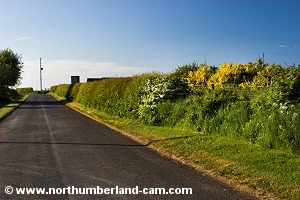
8) Further along the path Gorse was flowering profusely on the cliff edges, enhancing the views down the coast.

In the distance Holy Island and Bamburgh Castle could be seen. This view can be confusing because Bamburgh Castle appears to be inland from Lindisfarne Castle!

Cliff-top views near Cocklawburn. Cliff-top views near Cocklawburn.
Cliff-top views near Cocklawburn.


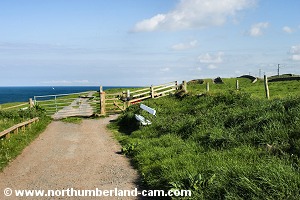
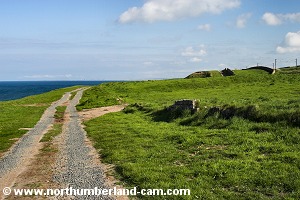
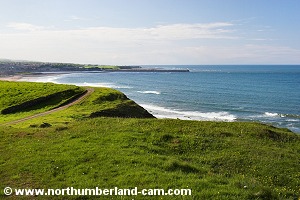
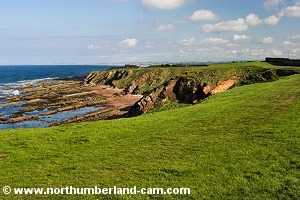
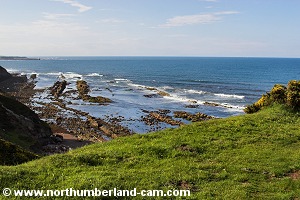
9) We continued along the cliff-top path, stopping to enjoy the views in both directions.

Cliff-top views near Cocklawburn. Cliff-top views near Cocklawburn.
Cliff-top views near Cocklawburn.


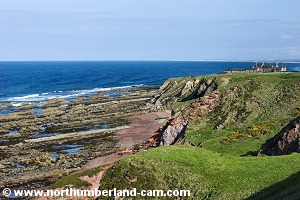
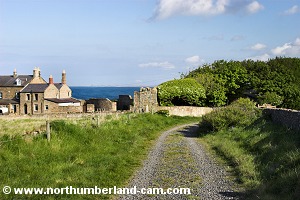
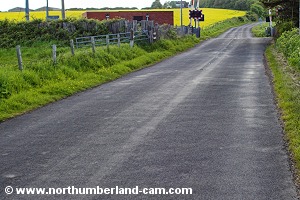
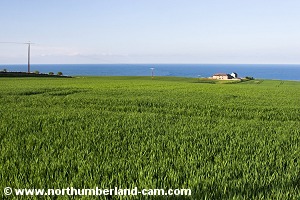
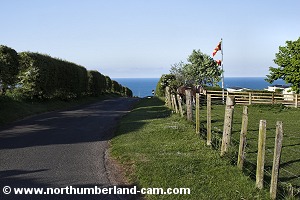
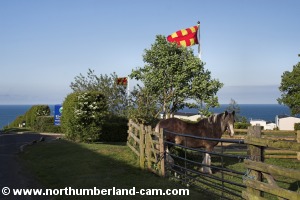
10) Eventually, after passing the large house overlooking the sea we reached the road from Scremerston to Cocklawburn.

Here we turned right along the road towards the level crossing.

Approaching the road from Scremerston to Cocklawburn.


Level crossing on the road to Scremerston. Level crossing on the road to Scremerston.
Level crossing on the road to Scremerston.


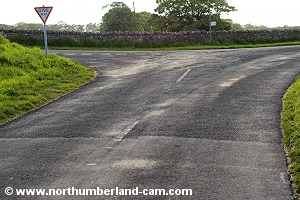
11) After a while we came to a junction beside Borewell Farm where we turned right. At this point we could have turned left and detoured through Scremerston, but decided to leave that for the next time.

Road towards Borewell Farm.
Junction beside Borewell Farm.
Road towards Borewell Farm. Junction beside the Farm.


View along the road after turning right. View along the road after turning right.
Views along the road after turning right.


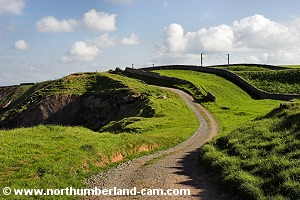
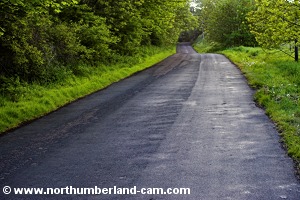
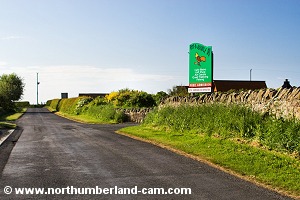
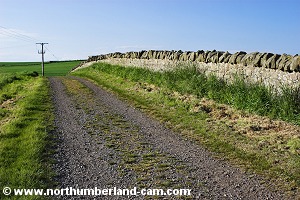
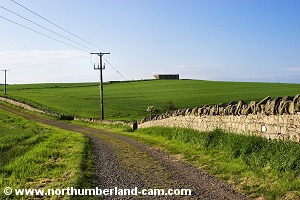
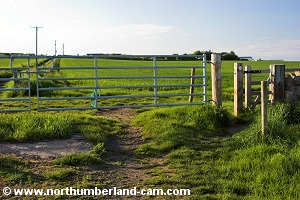
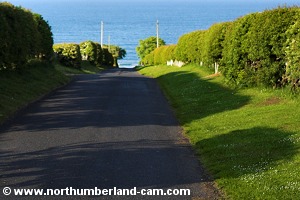
12) We walked along this road until we came to a sharpish left hand bend. Here we passed through a gate onto a wide track. The footpath sign here said "Cow Road".

Approaching the turn off for the track signed "Cow Road" Approaching the turn off for the track signed "Cow Road"
Approaching the turn off for the track signed "Cow Road"
View along the track. View along the track.
Views along the track.


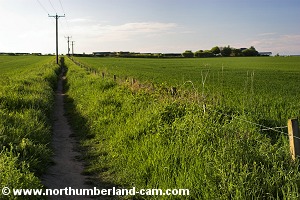
13) Following the track we reached another gate which we passed through, crossing a track onto a narrow footpath on the other side.

View to the coast.
View to the coast.

Crossing to the narrow path on the left.


14) Along the narrow path we continued until we reached a tarmac road.


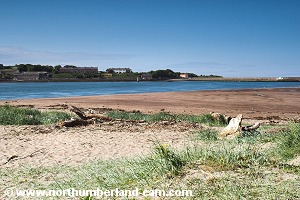
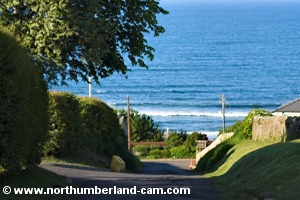
15) Passing through a kissing gate we turned right and walked along the road towards Seaview. There were more fine views along the coast from here.

View near the caravan park. View near the caravan park.
Views near the caravan park.


16) We soon reached the large static caravan site where the road dropped steeply downhill towards the coast.

Passing the caravan park entrance. Passing the caravan park entrance.
Passing the caravan park entrance.


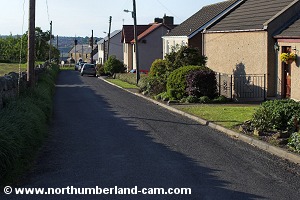
17) At the bottom of the hill we turned left and followed the road to the railway.

Sea view near the bottom of the hill.

Road to the level crossing.

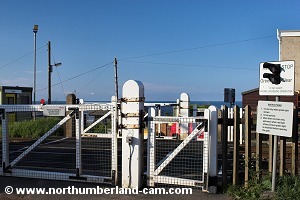
18) We turned right, over the level crossing and followed the road back down into Spittal.

Spittal railway crossing.

Downhill into Spittal.


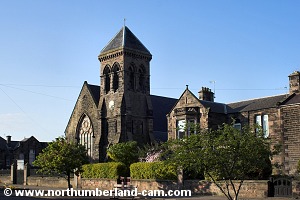
19) We turned left and walked along Main Street, passing the church before turning right and back onto the promenade.

Church of St. John The Evangelist.

Spittal Promenade.
Spittal Promenade.

20) At the promenade we turned left and followed the path back to the car park.

Spittal Beach. Spittal Chimney.
Berwick Pier. Lowry Trail Board.
Arriving back at the car park.

Notes

Walking Gear:

- Good walking boots or shoes advised.

- Waterproof clothing advisable depending on the weather forecast.

Food and drink advisable.

Map - Ordnance Survey Landranger sheet no. 75, Berwick Upon Tweed.

Use of information on this page is at the users risk and subject to our terms of use. (No reproduction without permission).


To see larger photos please visit
Northumberland Cam


Northumberland Walks Logo

© Copyright - All walk descriptions and photos on this website are subject to copyright and may not be reproduced in any format without prior permission.


If you would like to use any walking article or photo please use our E-mail form to make your request.

Northumberland-Walks.co.uk ©
Homepage * Site Map * Privacy * Terms * E-mail

Link opens new browser window.

Link opens new browser window.