|
| 
|
|
Northumberland-Walks.co.uk - photographic walks in Northumberland.Holy Island Coastal WalkIntroduction This walk follows the north east and south coasts of Holy Island. The coastline around Holy Island is varied and includes quiet beaches, cliffs and rocky shores. Superb views are everywhere on this walk. Distance - About 6 miles Parking - Large car park outside village - very expensive when we were there. Toilets - In coach park in the village. Access to Island: We carefully checked the tides as we were crossing from the mainland. We planned to arrive on a day when the first safe crossing time was about 9.30am. This gave us time to do this walk and return before the rising tide covered the causeway again.
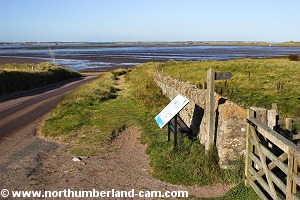
Walk 1) We started the walk from the main car park and walked north along the road. In a short distance the road turns left and downhill towards the shore. A gate and signpost were soon reached on our right. An information board at the gate had some details of wildlife and also some walks information. We didn't follow the marked walks shown here.
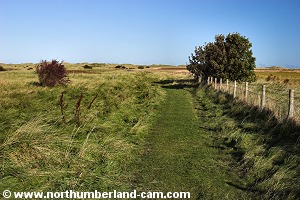
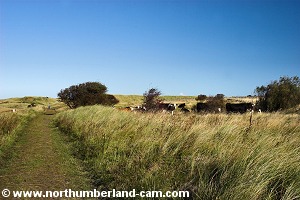
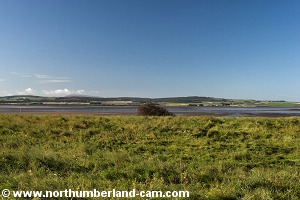
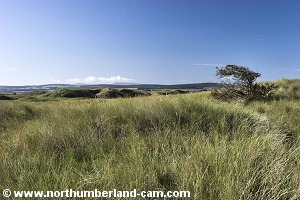
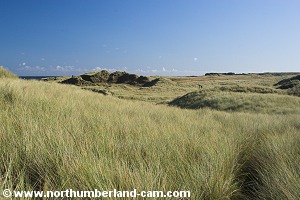
2) After turning through the gate we followed a good, grassy path towards the distant dunes. Cattle were grazing happily along the path and on our left were superb views to the mainland and Cheviot Hills. The bulk of the Cheviot itself was unmistakable on the horizon, as it is from many parts of Northumberland.
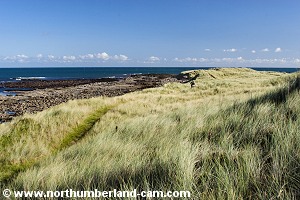
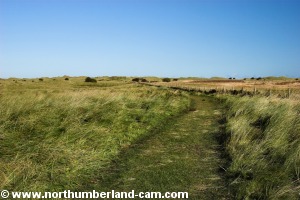
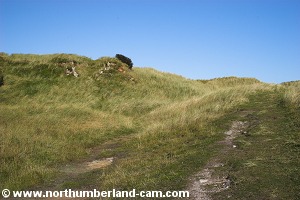
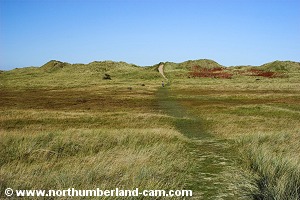
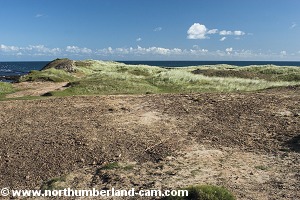
3) After a while we reached the dunes where the path climbed a little before entering a large plateau like area.
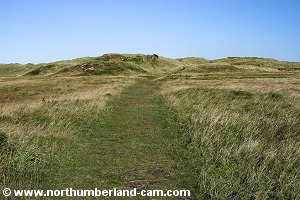
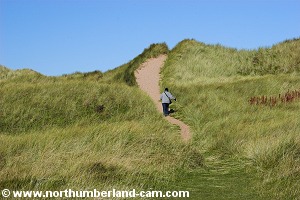
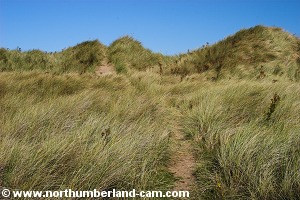
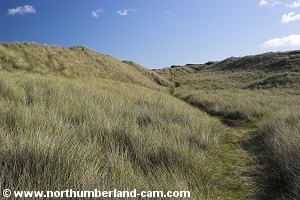
4) Continuing straight ahead we walked towards a clearly visible path into the higher distant dunes. Here the path changed from grass to soft sand.
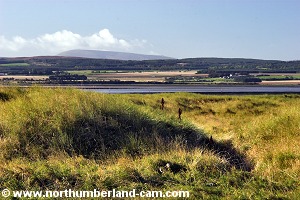
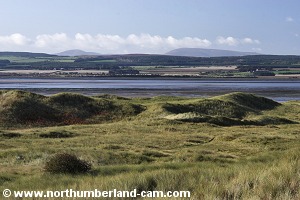
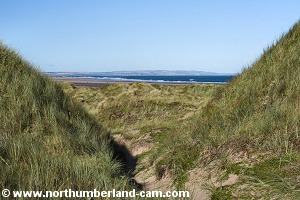
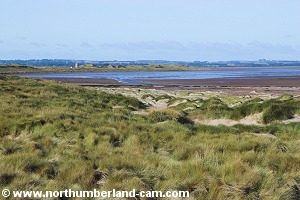
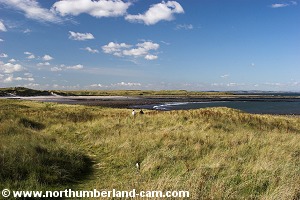
5) Here we climbed steeply up the dunes, pausing to admire the superb views across Holy Island Sands.
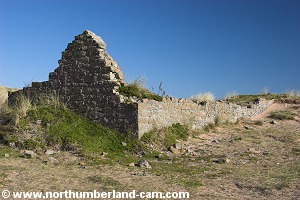
6) We then dropped down into a hollow where there is a ruined cottage.
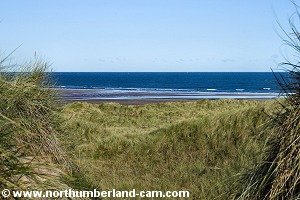
7) Following a path past the cottage through a narrow gap in a fence we continued on through the dunes. A path took us steeply up and down again until we reached the north coast of the island. Here we were greeted with fabulous views straight ahead across Goswick Sands to Cheswick Sands and beyond to Berwick and even to the cliffs at Marshall Meadows on the Scottish Borders.
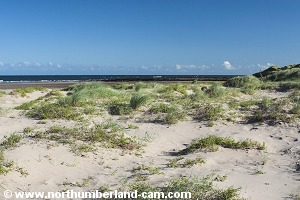
8) We crossed a flattish area of tufted grass and sand dotted with low violet coloured flowers growing from the sand.
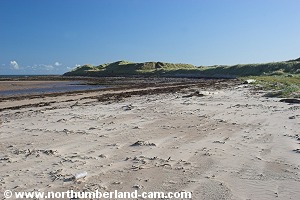
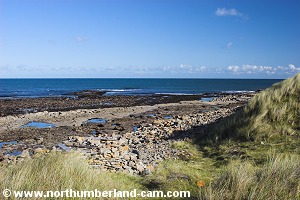
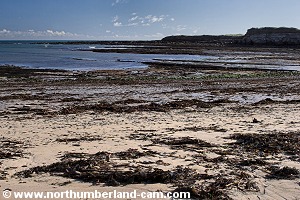
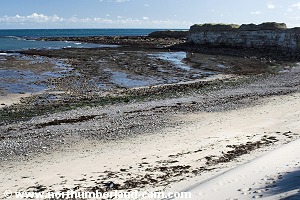
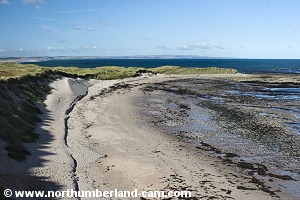
9) On reaching the beach we turned right and followed the shore which soon became rocky.
10) After crossing the rocks for a while we walked back up to the dunes.
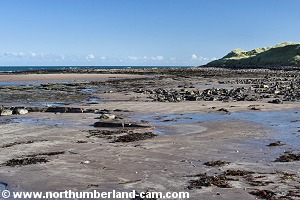
11) We followed a narrow path through the tall grass keeping close to the shore. The path climbed through some dunes and back down to the rocky shore.
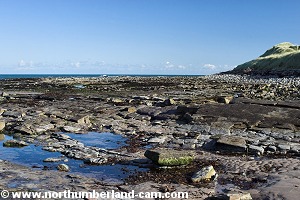
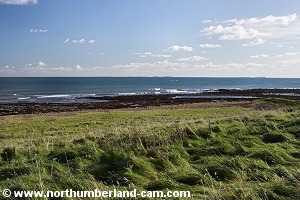
12) Here, there were more superb views and a nice place to stop for a break.
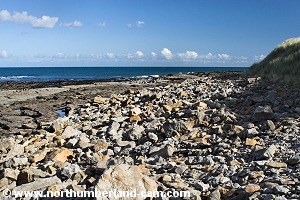
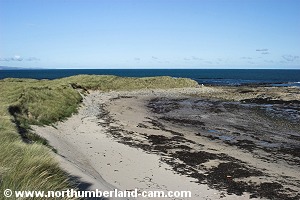
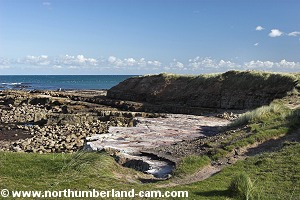
13) We continued along the rocky shore to Snipe Point and walked towards the beach at Coves Haven.
14) We walked up to the top of the dunes above the beach and down onto a path behind them which rose back up to the top of the cliffs.
15) We walked to the end of the cliffs to look across to Castlehead rocks where Gannet's were feeding.
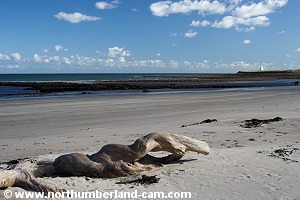
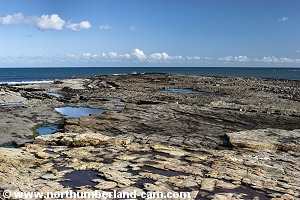
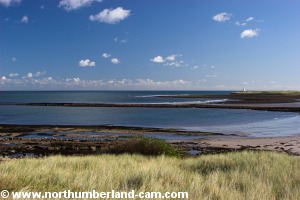
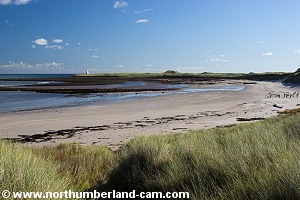
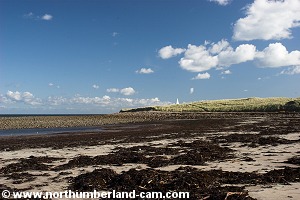
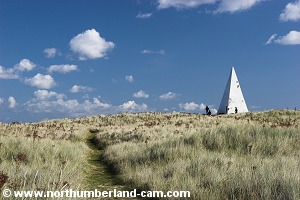
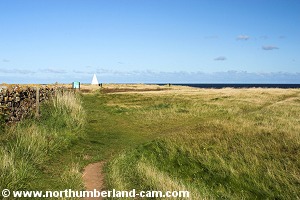
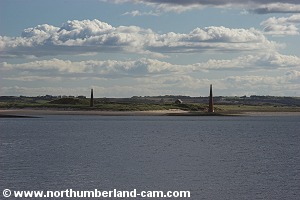
16) We walked around the point and down onto a lovely beach. In the distance the white navigation pillar at Emmanuel Head was visible.
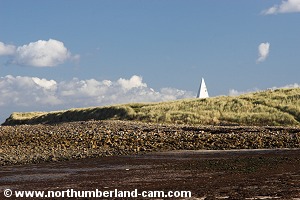
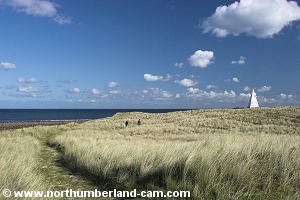
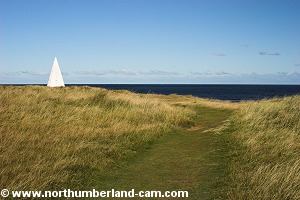
17) We walked the full length of this beach before crossing the rocky shore and climbing up onto the headland where we followed a well worn path to the navigation pillar. Here we stopped to admire the views and take more photos.
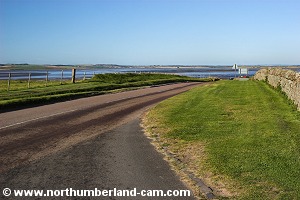
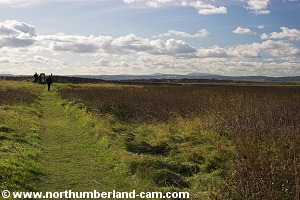
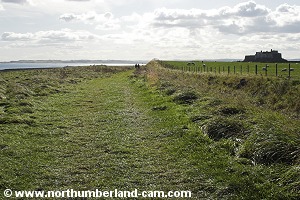
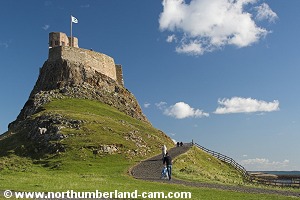
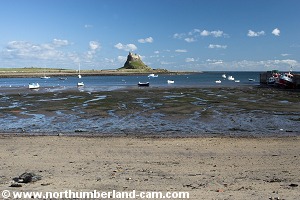
18) From the point we followed the path south with views of Lindisfarne Castle in the distance.
19) We continued along the coastal path which follows the route of the old wagonway from the castle lime kilns. This becomes more visible as an old railway further south.
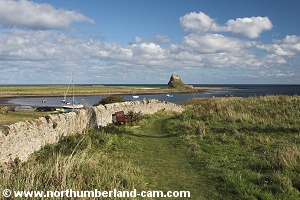
20) We turned right and followed the path running beside a wall on the north side of the castle. A good detour though is to continue on and walk around the coast past the castle. Having been that way before we chose the shorter route for a change.
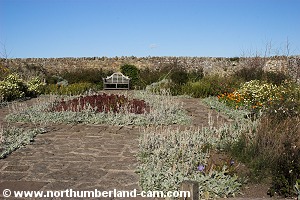
21) After a while we reached the small walled garden opposite to the castle before continuing on to rejoin the coast at the foot of the castle mound.
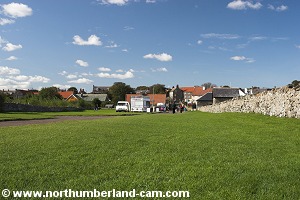
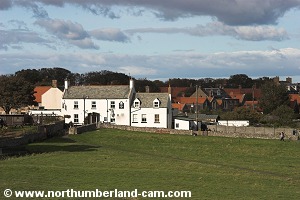
22) From here we walked along the road towards the village where we made a detour to the toilets in the coach park.
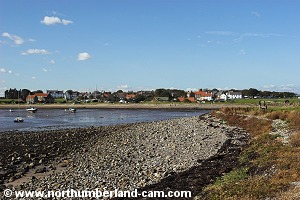
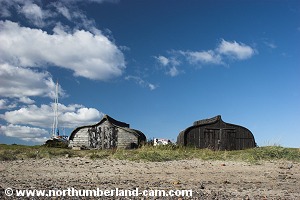
23) We returned to the bay and walked along the small beach past the upturned boat houses to the harbour pier.
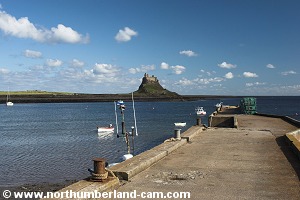
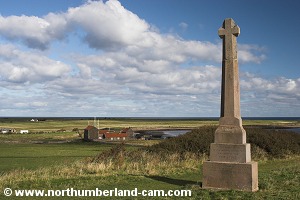
24) After stopping along the pier for more photos we walked up to the Heugh.
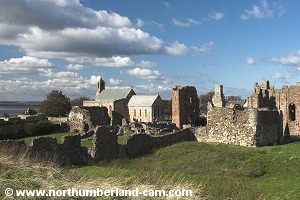
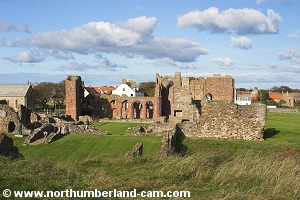
25) At the top beside the navigation light and the war memorial are fantastic views in all directions. The priory, harbour, castle, village and mainland can all be seen from here.
26) From the Heugh we followed a steep and slippery path down to the shore and to a lane past St. Mary's Church. We then walked back through the village to the car park. Keeping an eye on the time we made it back across the causeway before the tide came in.
Notes
| ||||||||||||||||||||||||||||||||||||||||||||||||||||||||||||||||||||||||||||||||||||||||||||||||||||||||||||||
| ||||||||||||||||||||||||||||||||||||||||||||||||||||||||||||||||||||||||||||||||||||||||||||||||||||||||||||||